

How to Become a Freelance Web Designer as a Beginner in Dubai, UAE
September 24, 2026
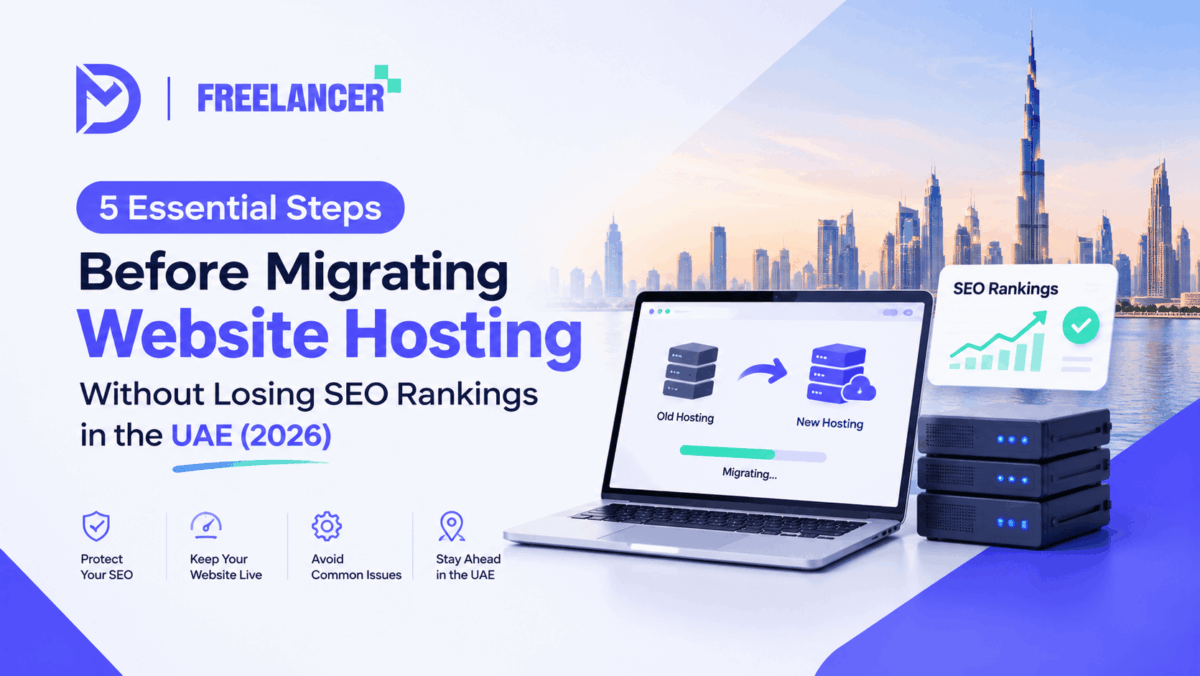
Changing your website hosting provider can improve website speed, security, server performance and overall user experience. However, migrating a website without proper preparation can create unexpected SEO problems, including traffic drops, indexing issues, broken links and temporary ranking fluctuations.
For businesses in Dubai and across the UAE, organic search traffic can be an important source of enquiries and customers. Losing established Google rankings during a hosting migration can affect visibility and potentially impact business revenue.
The good news is that changing hosting providers does not automatically mean losing your SEO rankings. With the right preparation, backup strategy and migration process, you can move your website while preserving its existing search engine value.
Whether you’re planning to move from shared hosting to VPS, change hosting providers or upgrade your server infrastructure, here are five essential steps to follow before migrating your website in 2026.
Why Choose Me for Website Migration and SEO?
Welcome to DM Freelancer — your trusted licensed freelance web designer in the UAE and performance-driven marketing partner.
Over the past six years, I’ve worked closely with startups, small businesses and growing brands to strengthen their digital presence and turn website visitors into real enquiries.
My approach combines design clarity, marketing strategy and performance tracking to deliver solutions that actually work. My work has been recognized with the prestigious Awwwards Site of the Year.
As a web developer and website specialist, I build fast, mobile-friendly platforms that reflect your brand and support long-term marketing goals. Alongside web development, I provide strategic marketing guidance to help businesses avoid wasted budgets and focus on what truly generates results.
From website development and technical SEO to search engine optimization and digital marketing, I focus on building websites that perform well for both users and search engines.
Step 1: Prepare Your Existing Website Before Server Migration
The first and most important step is to understand your existing website’s performance before making any changes.
Many businesses migrate hosting without documenting their current SEO performance. This makes it difficult to identify whether traffic or ranking changes are related to the migration.
Before moving anything, prepare the following:
1. Choose the Same Server Location
When selecting your new hosting provider, consider choosing a server location close to your primary audience.
For example, if your business mainly targets customers in Dubai, Abu Dhabi and other UAE Emirates, consider hosting your website in the UAE or a nearby region with reliable connectivity.
Server location is not a direct Google ranking guarantee, but it can influence latency and website response times. A suitable hosting location combined with a quality hosting infrastructure can help improve user experience.
2. Export Your SEO Traffic Report
Before migration, download your existing website performance reports from Google Search Console and Google Analytics.
Record important information such as:
- Total organic clicks and impressions
- Average keyword positions
- Top-performing search queries
- Organic traffic trends
- Most visited landing pages
- Countries generating traffic
- Mobile and desktop performance
Pay special attention to your highest-performing pages. These pages may already generate enquiries, sales and valuable organic traffic.
Having a baseline report allows you to compare website performance after migration.
3. Take a Backlink Report
Backlinks are an important part of your website’s SEO profile. Before migrating, export your existing backlink data using tools such as Ahrefs, Semrush or Google Search Console.
Record:
- Referring domains
- Important backlinks
- Backlink destination URLs
- High-authority referring websites
- Anchor text distribution
- Lost and newly discovered backlinks
Your existing backlinks may be contributing to your website’s authority. Make sure the destination URLs remain accessible after migration.
4. Export a Complete Website Backup
Never start a hosting migration without a complete backup.
Your backup should include:
- WordPress website files
- Images and media uploads
- Themes and plugins
- Database
- Configuration files
- Existing website content
You can download the website manually through cPanel or use migration plugins such as All-in-One WP Migration.
Keep at least one backup outside your existing hosting account. This ensures you have a recovery option if something goes wrong during migration.
Step 2: Create a Staging Website Before Migration
A staging website is a separate testing environment where you can prepare and check your website before moving it to the new hosting server.
Instead of making changes directly to your live website, you can test everything in a controlled environment.
1. Create a Staging Website
You can create a staging website using your hosting provider’s staging feature or by installing WordPress on a temporary subdomain.
For example:
- Main website: example.com
- Staging website: staging.example.com
Make sure the staging website is password-protected or configured to prevent search engine indexing.
2. Choose Your Theme or Design
If you’re planning to redesign your website during migration, this is the right time to prepare the new design.
However, avoid unnecessary changes to your website structure during the hosting migration.
If your main objective is simply changing hosting providers, keeping the existing theme and design is generally the safer approach.
3. Follow Your Previous Website Structure
Try to maintain the same website structure, content and important SEO elements.
You can replace outdated images, improve layouts and optimize certain sections, but avoid removing valuable content without evaluating its organic traffic and ranking performance.
Pay attention to:
- Existing page content
- H1 and H2 headings
- Page titles and meta descriptions
- Internal links
- Image alt text
- Canonical tags
- Structured data
4. Keep Your Existing URLs the Same
This is one of the most important considerations during an SEO-sensitive migration.
For example:
Old URL: example.com/web-design-dubai/
New URL: example.com/web-design-dubai/
The URL should remain exactly the same wherever possible.
Avoid changing page slugs, URL structures or category paths unnecessarily.
If URL changes are unavoidable, prepare a complete 301 redirect mapping from every old URL to its relevant new destination.
5. Export the Staging Website
Once the staging website is ready, create a complete backup.
You can export the website manually or use migration plugins such as All-in-One WP Migration.
Before exporting, check that all website pages, images, databases, forms and important functionality are working properly.
Step 3: Purchase New Hosting and Prepare for Migration
Once your staging website and backups are ready, you can move to the new hosting provider.
Don’t choose a hosting plan based only on storage space or promotional pricing.
Consider the following factors:
- Server location
- CPU and RAM allocation
- Storage type and capacity
- Bandwidth
- Server response time
- SSL availability
- Backup facilities
- Security features
- Customer support
- Scalability
For businesses operating in the UAE, reliable hosting infrastructure is particularly important when serving customers across different Emirates and international markets.
Choose a hosting provider that can support your website’s current requirements and future growth.
Step 4: Complete the Website Hosting Migration
Now that the new hosting environment is ready, you can begin the actual migration process.
Follow these steps carefully.
1. Purchase Your New Hosting Plan
Purchase the hosting plan that meets your website’s technical requirements.
Set up the hosting account and access its control panel, such as cPanel or the provider’s custom hosting dashboard.
2. Assign Your Existing Domain to the New Hosting
Add your existing domain name to the new hosting account.
Configure the required DNS records or nameservers according to your hosting provider’s instructions.
Important: Keep your old hosting account active until the new website has been fully tested and confirmed to work correctly.
3. Import Your Staging Website Backup
Upload your website backup to the new hosting account.
Depending on your migration method, you may need to:
- Upload website files
- Create a new database
- Import the database
- Update wp-config.php
- Restore media and plugins
- Configure SSL
If you’re using a migration plugin, follow its restoration process carefully.
4. Test the Website Before Going Live
Before switching DNS, test the website on the new server using a temporary URL or local hosts-file configuration.
Check:
- Homepage and important landing pages
- Contact forms
- Navigation menus
- Images and videos
- Mobile responsiveness
- Website loading speed
- Internal links
- SSL certificate
- WordPress dashboard
- Robots.txt and XML sitemap
Also check that your staging noindex settings have not accidentally been carried over to the live website.
5. Point Your Domain to the New Server
Once testing is complete, update your DNS records or nameservers to point your domain to the new hosting provider.
DNS propagation can take time, and different visitors may temporarily reach different servers.
Keep both hosting accounts available during this period and avoid making conflicting content changes.
Step 5: Monitor SEO Performance After Migration
Your work doesn’t end when the website becomes accessible on the new server.
The post-migration stage is equally important because technical issues can affect crawling, indexing and search visibility.
1. Check Google Search Console
Open Google Search Console and monitor your website’s performance.
Check:
- Indexing status
- Crawl errors
- Page indexing reports
- Sitemap status
- Server connectivity issues
- Mobile usability signals
Submit your XML sitemap again if necessary and make sure Google can access your important pages.
2. Monitor Website Traffic
Compare your new performance with the reports you exported before migration.
Use Google Analytics and Google Search Console to monitor:
- Organic sessions
- Search clicks
- Search impressions
- Keyword positions
- Landing page performance
- Conversion rates
Compare similar periods and account for normal seasonal or market fluctuations.
3. Check Your Backlinks
Review your important backlinks and verify that their destination pages are still accessible.
If URLs have changed, ensure the appropriate 301 redirects are working.
Avoid redirecting every old URL to the homepage. Redirect each page to its most relevant replacement.
4. Monitor Website Speed
Use Google PageSpeed Insights and other performance tools to evaluate the new hosting environment.
Compare Core Web Vitals, server response time and loading performance.
A successful hosting migration should ideally maintain or improve the website’s technical performance.
5. Allow Time for Google to Reprocess Changes
You may notice temporary fluctuations in rankings or organic traffic after migration.
Google needs to crawl and process the website on its new server. However, ranking fluctuations are not guaranteed, and there is no fixed recovery period.
If performance drops significantly or remains unstable, investigate technical issues rather than assuming it will recover automatically.
Check DNS configuration, server responses, redirects, robots.txt, canonical tags, indexing directives and internal links.
Website Hosting Migration Checklist
Before considering your migration complete, use this checklist:
-
Export Google Search Console performance reports.
-
Export Google Analytics traffic reports.
-
Download backlink reports.
-
Create a complete website and database backup.
-
Select a suitable new hosting provider.
-
Create and test a staging website.
-
Preserve existing website content and URLs.
-
Import the backup to the new hosting.
-
Test website functionality before switching DNS.
-
Configure SSL and DNS correctly.
-
Check robots.txt and indexing settings.
-
Submit the XML sitemap.
-
Monitor organic traffic and rankings.
-
Keep the previous hosting available until migration is verified.
Common Website Migration Mistakes That Can Hurt SEO
Even a technically successful migration can create SEO problems if important details are overlooked.
Here are some common mistakes to avoid:
1. Changing URLs unnecessarily: Changing page URLs can affect existing search visibility and backlinks if redirects are not configured correctly.
2. Forgetting website backups: Without a complete backup, recovering your original website can become difficult.
3. Blocking search engines: Accidentally carrying over staging noindex settings or restrictive robots.txt rules can prevent Google from crawling important pages.
4. Ignoring backlinks: Broken destination URLs can reduce the value of existing external links.
5. Cancelling old hosting too early: Keep your previous hosting account active until the new website and DNS configuration are verified.
6. Changing everything at once: Avoid combining hosting migration, website redesign, URL restructuring and major content changes unless necessary. Separating these activities makes troubleshooting much easier.
Final Thoughts
Migrating your website to a new hosting provider doesn’t have to mean sacrificing your Google rankings.
The key is to prepare properly, document your existing SEO performance, maintain a complete backup, test the staging website and carefully manage the migration process.
For businesses in Dubai and across the UAE, protecting organic traffic during a hosting migration is particularly important when Google search visibility contributes to regular leads and sales.
At DM Freelancer, I combine website development, technical SEO and digital marketing knowledge to help businesses build and maintain websites that support long-term growth.
If you’re planning a hosting migration and want to protect your existing SEO performance, take the time to follow these five steps before making the move.